There are plenty of ways to create a Watercolor Effect in Photoshop.In this tutorial, we will be using Layer Masking. It is one of the most fascinating and powerful Photoshop methods to use layer masks in your designs.
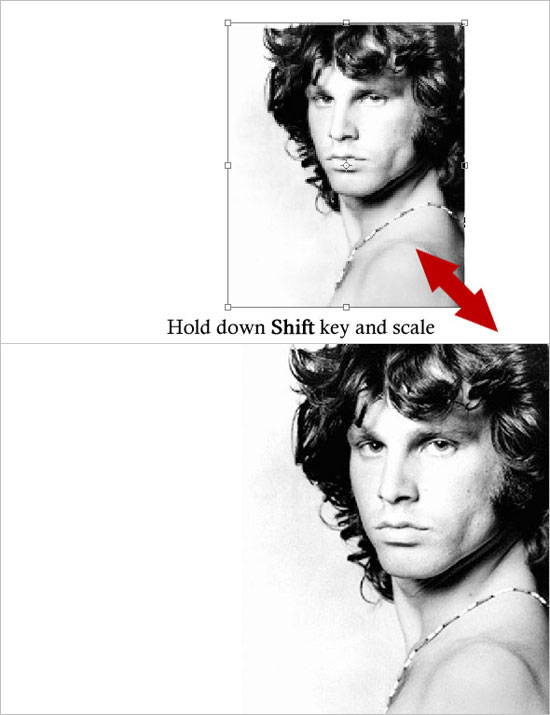
Let us start off by creating a canvas of 1920 x 1200 pixels, in RGB mode. Right click and save this photo of Jim Morrison, lead singer of the rock band, The Doors. Copy and paste the image into our canvas. Use transform and scale it to fit our canvas by holding down the Shift-Key. This keeps the original aspect ratio of the image and it does not look stretched.

Even though the picture being used is small resolution, it will not matter much since we will be using some filters that will remove any sort of pixelation. Adjust Brightness/Contrast to bring out the WHITES and the BLACKS of the photo, and then DUPLICATE THE LAYER.

Apply a WATERCOLOR filter from filter gallery to the duplicated layer. Double-click on the LAYER NAME in the LAYER STACK and rename this duplicated layer as “Watercolor Filter”.

Select the original layer and NOT the “Watercolor Filter”. Go to Image > Adjustments > Threshold. Name this original layer as “Threshold Effect”.

Set the Blending mode to Multiply. SHIFT CLICK the two layers (Threshold Effect and Watercolor Filter), and merge them (CTRL- E). Rename the resulting layer as “Merged Layer”.

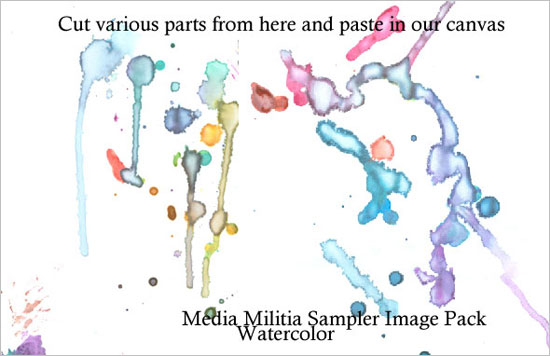
Below are some watercolor brush splatter images (these are NOT BRUSH FILES!). Right click to download and open them in Photoshop.
Alternately, you could use your own watercolor spatter brushes by right clicking on the following brush files and installing them, just as you did in the "Oriental Painting Project."


As outlined above, you will be creating a new layer and copying and pasting and arranging some of the watercolor splash samples on that layer, cover a large part of the canvas. (You might be using your own brushes to achieve a similar effect.)
Now, CLOSELY FOLLOW the instructions below to bring out the watercolor portrait! Make sure to copy the layer images exactly!

Right-click and save this paper texture file. Paste it into your canvas and set it to Linear Burn mode.

Clone some areas in the “Layer 1″ using the Clone Stamp Tool. 
When you activate this tool, your cursor becomes not a brush, but a pixel copy tool. ALT-click on an area of the image, then brush. You will be CLONING the pixels from the original area and "painting" them to your brushed area. Fill in missing gaps to make you image look more complete (see below).

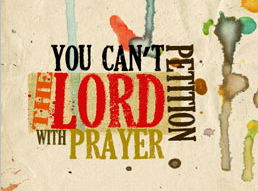
Finally, add some more watercolor splashes from your files or brushes. Add the text, oriented like the image above. Now you have an abstract watercolor design.

Please note that the ORIGINAL of this portrait has a text component (see above), this being a line from one of Jim Morrison's poetry. Please do your best to copy the look of these words when you insert them into your final work, as well.
YOUR TURN: WHEN YOU ARE DONE, use your creativity and innovation to create your own abstract portrait of your choosing, using the skills learned.
